|
A Great Way To Recycle! |
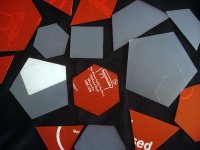
| Templates are the first thing you will need to make when paper piece quilting. You can make them out of any strong material, cardboard works well. I find that plastic is the best and most hard wearing though. After trying many things I've found the best plastics are the see through covers on A4 size pads. You can buy recycled pads with recycled plastic fronts from the remarkable shop . So if you are buying a pad anyway why not swop to these recycled products that will be great for your quilting too! |
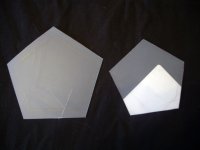
| So once you have decided what you will make them from, you need to draw a pentagon with 6cm sides. Now if you enjoy a challenge why not use this how to draw a pentagon tutorial . If you're a bit like me and want an easy life, why not use your word processor to draw a regular pentagon instead. You can usually specify the size or align the sides with the rulers on the side of the page to make sure you get it spot on. Then all you have to do is draw around it onto your plastic or cardboard and cut it out. I have also shown here another template that is half a centimetre bigger all the way around. I use this to cut out the material so that it has a half centimetre seam allowance. |
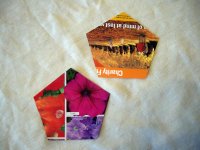
| Your next job is to cut out 12 papers. For this you can use any paper that you have at hand, I use the pizza leaflets we get through the door. They are shiny, thin and easy to sew through. Glossy mags are also a good choice but really any paper you have will do. So take your 6cm pentagon template and draw around it 12 times. Cut out the shapes and hold them up to your template to make sure they are correct. You can re-use these over and over so even though it seems like a lot of work it's a good investment of your time. |
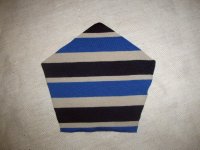
| Then take the template that is slightly bigger and cut out 12 patches of material. Mark them out first with chalk or a marker pen if you are cutting with scissors. If you have a rotary cutter and mat just hold the template on top of the material and cut around it. If you do some clever folding you can cut quite a few patches at the same time! |
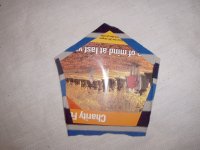
| Take a piece of material and place a paper on the wrong side of it. Put a pin in the middle to hold them both together. This is where you really start paper piecing quilting! All the rest has been foundation work. Once you have done a few different projects you will have a collection of templates and papers so things will move along more quickly. |
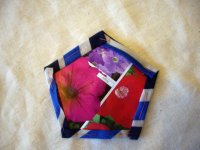
| Start to turn the seam allowance over and tack the sides down through the layers of paper and material. Once you have folded and tacked all the sides you should have a pentagon with sides that are a tiny bit bigger than 6cm. |
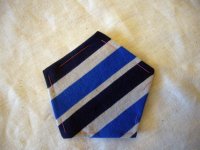
| Turning this over you have your first pentagon ready. Put this aside and repeat the process at least 6 times so that you have enough patches to make one side of your ball. |
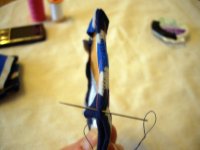
| Next put two pentagons right sides facing. Sew them together catching only the edge of the fabric. Use a small whip stitch and try not to sew the paper :). |
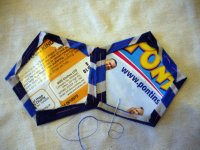
| This should look like this when you open it back out. Carry on sewing patches on to all the sides of your original pentagon. |
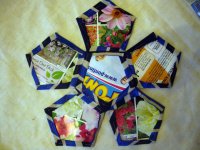
| When your paper piecing quilting looks like this then you're ready to sew them into a cup shape. Join the sides of the other pentagons together using the same method. |
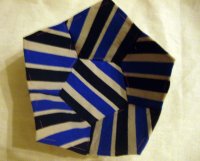
| This is one side of the ball. Repeat the whole procedure so that you have another cup exactly the same. |
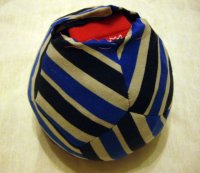
| Now put them on top of one another and join all the sides that touch together. Don't forget to leave two sides un-sewn so that you can turn it the right way around and stuff it. Remove the tacking stitches and the papers. You can leave them in if you want to. Turn the ball the right way around and find something to stuff it with! |
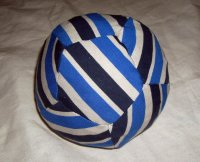
| I've used old socks for mine! But the wadding from an old cushion, old net curtains or old sponges cut up small (cleaned of course) all make good stuffing. I've got to say socks do make the ball heavy :) Once you've put the stuffing in sew the hole up using either an invisible stitch or a decorative cross stitch. |
return from paper piecing quilting to beginning quilting or
recycle-crafts home page


