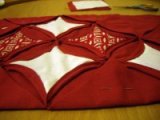
A Cathedral Window Quilt
Stunning Design and Eco Friendly.
Cathedral Window Quilting is an amazing way of making a quilt that grows very quickly. You can see results almost immediately!
When I first started to research into ways of recycling old clothes and bedding this method of quilting really took my eye.
The difference between cathedral window quilting and other methods is that you are quilting as you go. All the pieces are folded individually and require no backing or binding. In fact you don't even have to add batting if you don't want to.
Getting back to recycling.... This is a good way to use interesting scraps of material and old cotton bed sheets.
The windows in this quilt pattern use a 3inch/7.5cm scrap of material. These are the decorative bits of your cathedral window quilt. They can all be different interesting pieces or you could collect lots of scraps of the same colour scheme or pattern.
The Backing material can be any plain light weight fabric. As I mentioned I've found that old bedsheets work a treat for this.
Make a Cathedral Window Quilt
|
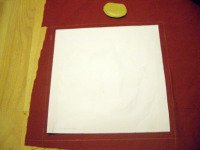
First of all cut a 9inch/28cm square from a piece of paper. We are going to use this to fold out first square. Then place this square onto your backing material. Measure and draw a seam allowance around it of 1cm or 1/2inch. This is to fold over so that there are no rough edges. | |
|
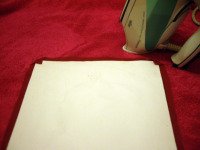
Remove the paper and cut this square out. When you get the hang of it you might want to cut more than one at a time out. If you have a rotary cutter you will do this very quickly. Place the square back onto the piece of material. Use an iron to press the corners in. | |
|
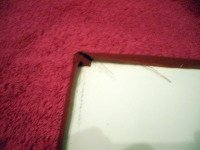
Then press in the sides. Take your time getting the corners right as this is quite important. | |
|
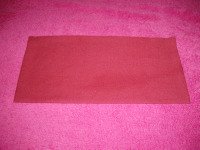
Fold the piece in half wrong sides together and press. Fold it in half again and press. This picture only shows the first fold! | |
|
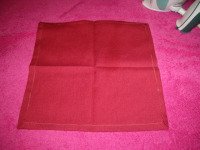
Open it all out again wrong side up. | |
|
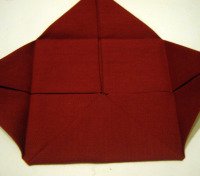
Fold the corners in so that they meet in the middle and press. Again fold the corners in so that they meet in the middle and press. | |

|
That is your first square ready. It's a good idea to make at least 4 preferably 6 to get started properly. | |
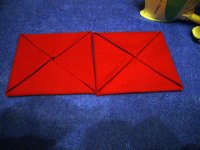
| Take two pieces and put them side by side. The square in the middle made by the two diamonds is where we will be concentrating. Pin down all the other triangles for now. | |
|
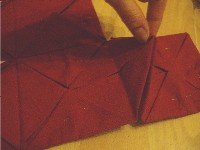
Lift up the triangles in the middle. See the crease where they meet? | |
|
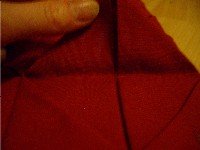
Sew along this with your sewing machine or by hand with a neat running stitch. Sew another two together like this. Then sew the first two to the second two in the same way. | |
|
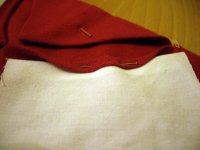
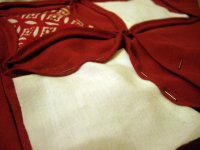
Ok now you can start to fill in the windows. We need to make another quick template. Cardboard is a good idea for this one. Draw and cut out a 3inch/7.5cm square. Use this to cut a square from your window material. Fold over the raw edge and pin into your first window. This takes a little practice to get right. | |
|
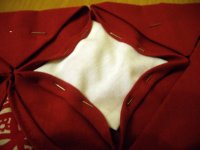
Continue doing this with your choice of window material. So all four sides are pinned into the window. | |
|
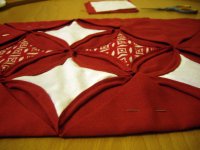
Sew the windows onto the quilt using either an invisible stitch or a visible stitch that goes straight through all the layers of the fabric. | |
|
You can add batting under each window, into the bottom of the square piece so that the whole quilt ends up with batting inside or not at all for a light weight cathedral window quilt. |
I learned this technique from a great blog, if you want to follow these instructions please follow this link. Her quilt is amazing!
I love this method of making a cathedral window quilt because it's so immediately satisfying! Try it out with any fabric you have around the house. It's a great idea to cut nice bits of fabric off your worn out clothes before you throw them away!


